A little-known feature introduced back in iTunes 9 is a special folder named Automatically Add to iTunes, located within your iTunes library. By placing content into this folder rather just dragging content into the app, you can save both time and disk space when wanting to import media into iTunes.
We can also create some useful Automator workflows that, when combined with this useful folder, will make moving content into iTunes a quick and simple process.
The iTunes Library
By default, the iTunes library is located at ~/Music/iTunes. Within this folder are a number of files related to the iTunes database and the main folder containing all of its media, named either iTunes Media or iTunes Music (the naming is synonymous and simply depends on how long ago you started your iTunes library).
Importing Content
The most common way of importing content into iTunes involves dragging media to the dock icon, or even the app’s window, where it’s copied into an appropriate subfolder and the iTunes database is updated. If it’s an artist or album that doesn’t already exist, a new subfolder is created.

The import process is rather redundant as iTunes needs to be running and is just duplicating any files you’ve likely just wanted to move into your iTunes library, leaving you to manually delete the original files that are now taking up unnecessary disk space. Furthermore, importing a large amount of content can take some time since iTunes is busy duplicating these files.
The Watch Folder
We can skip the entire process of needless duplication by moving files into a watch folder named Automatically Add to iTunes instead.

While iTunes is running, any new items found within this watch folder are moved into the correct subfolder and the iTunes database is updated accordingly.
It’s a far more efficient method as any content added is instantly available since there’s no wait for files to be duplicated.
Adding New Content
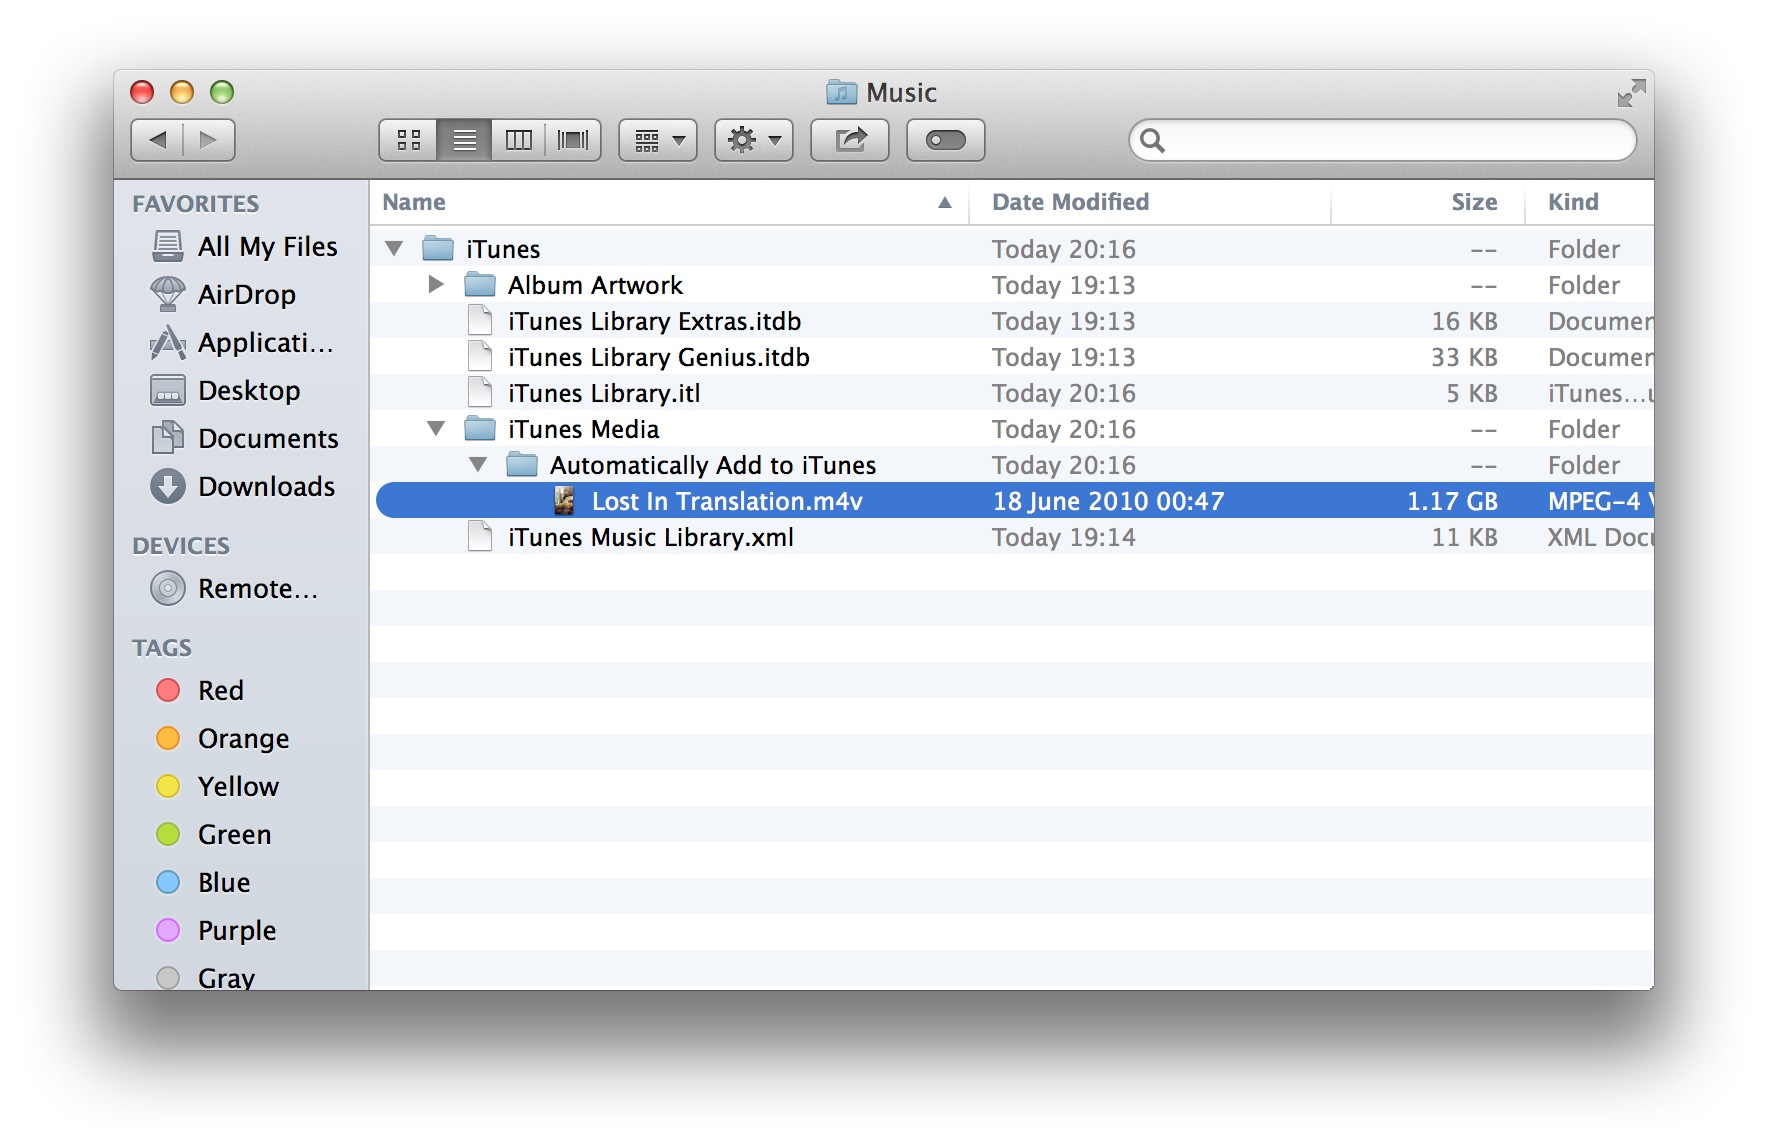
Here’s a video file I’ve added to the watch folder. iTunes isn’t running at the moment so the file will remain in this folder until it’s next launched.

As soon as it’s launched, iTunes scans the folder and detects the new video file.

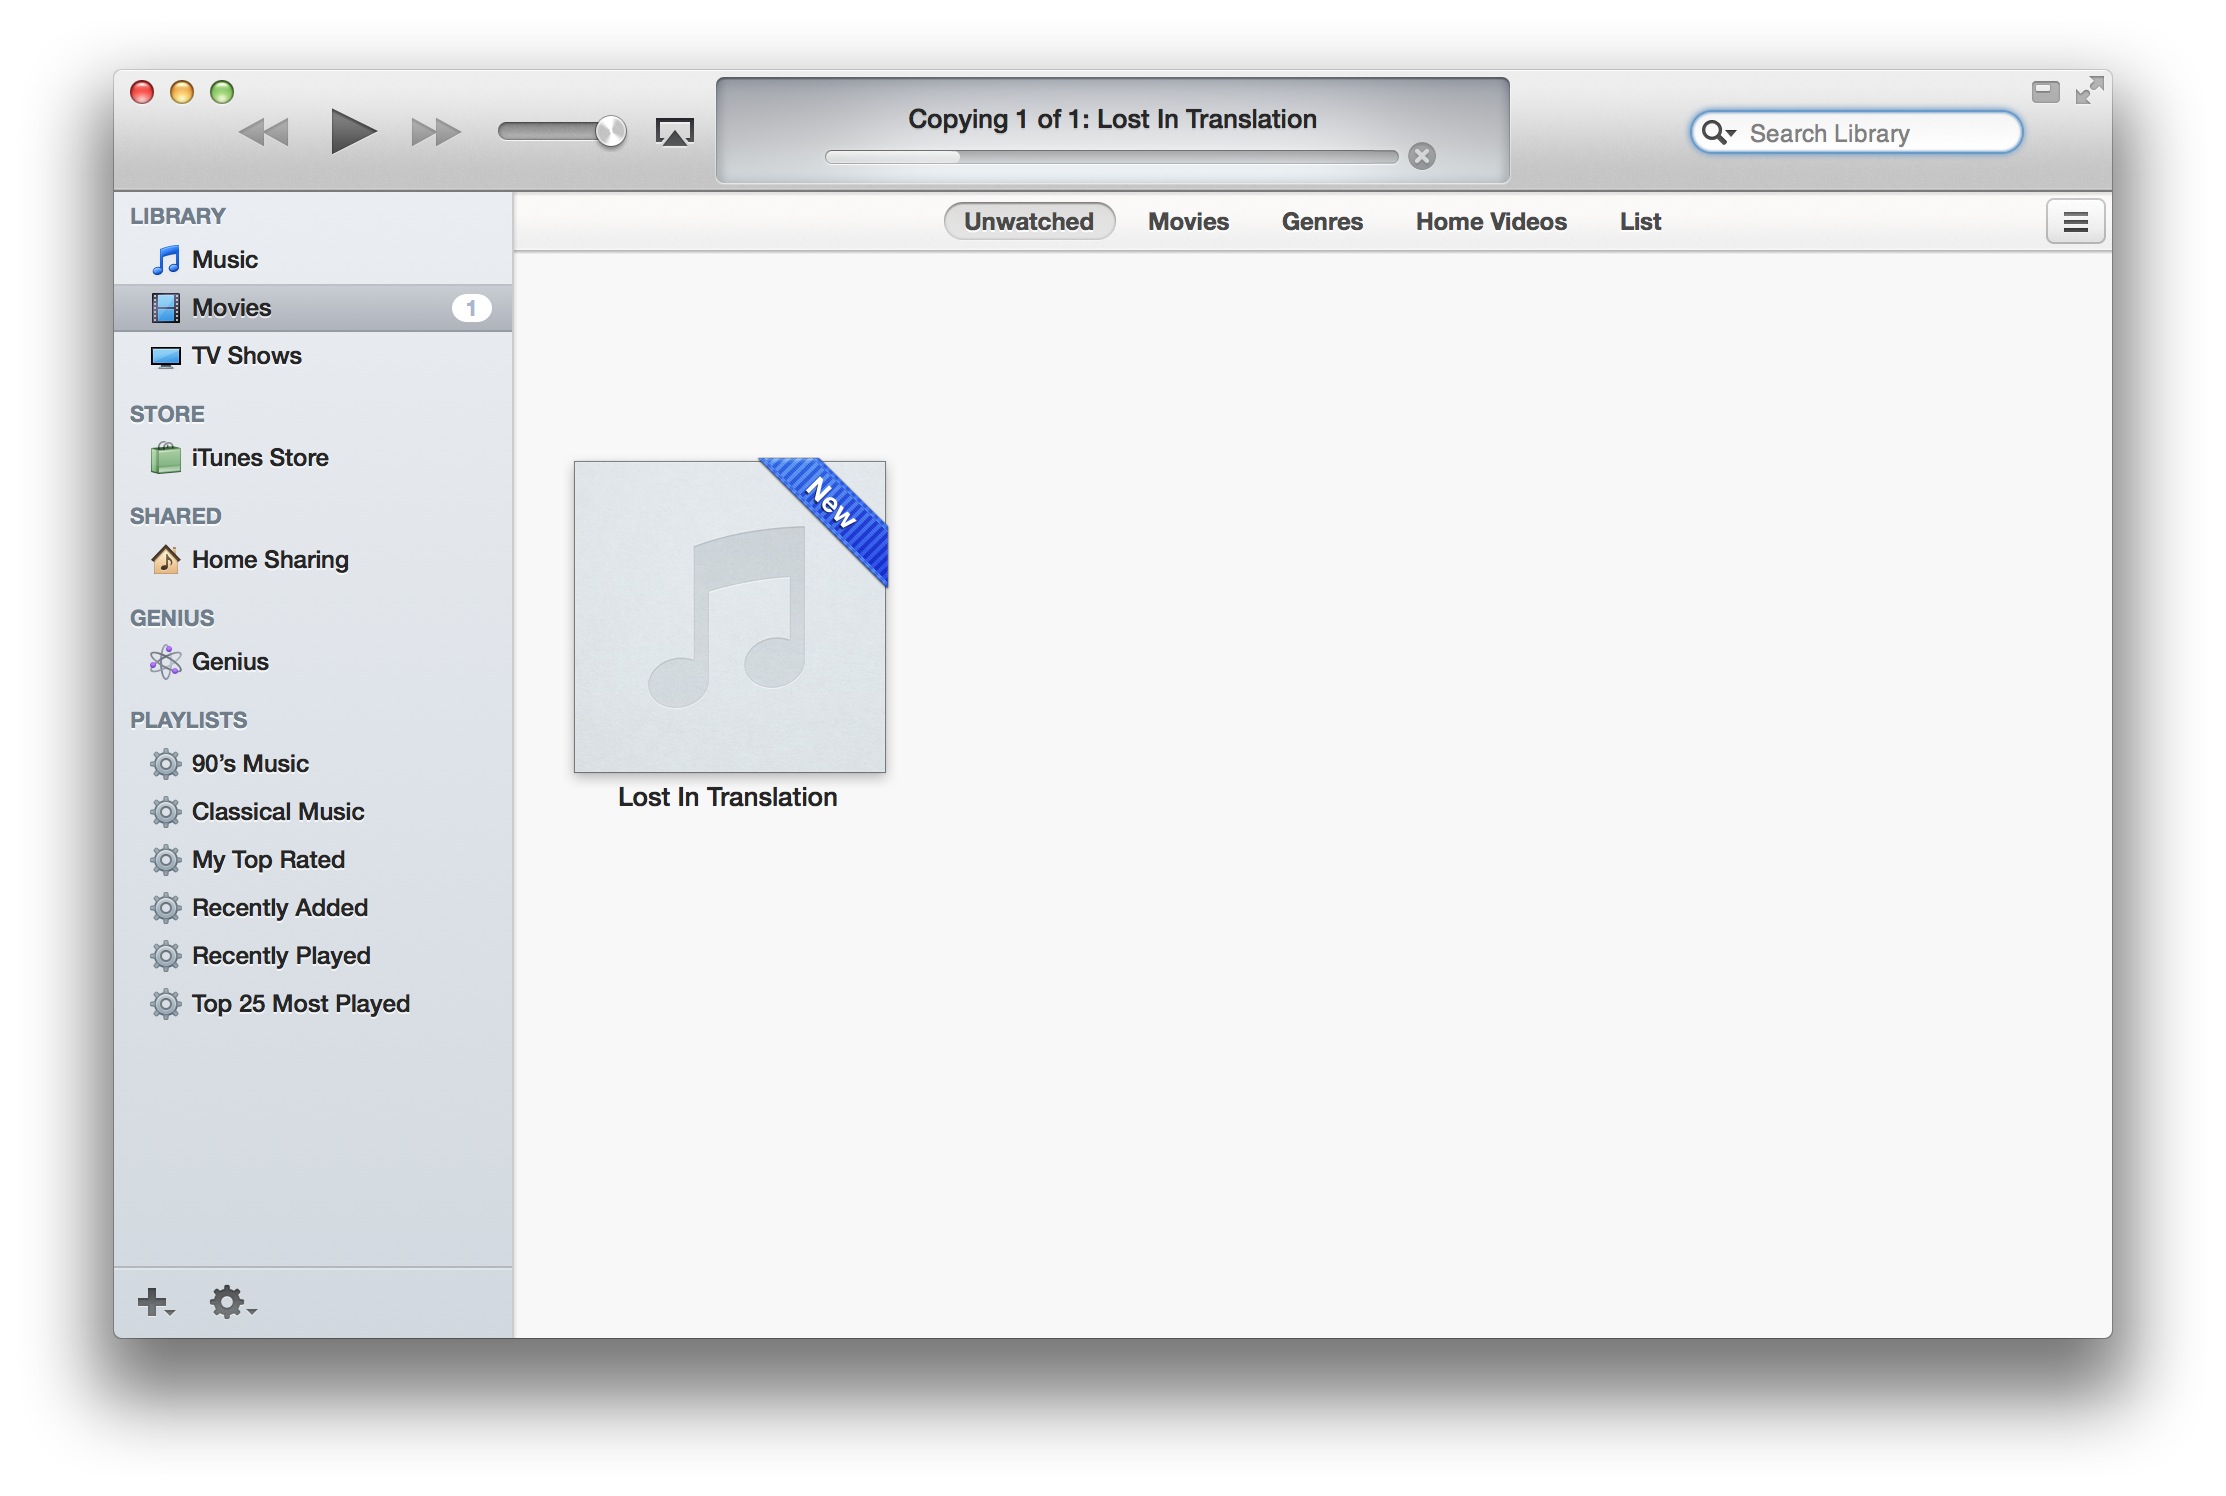
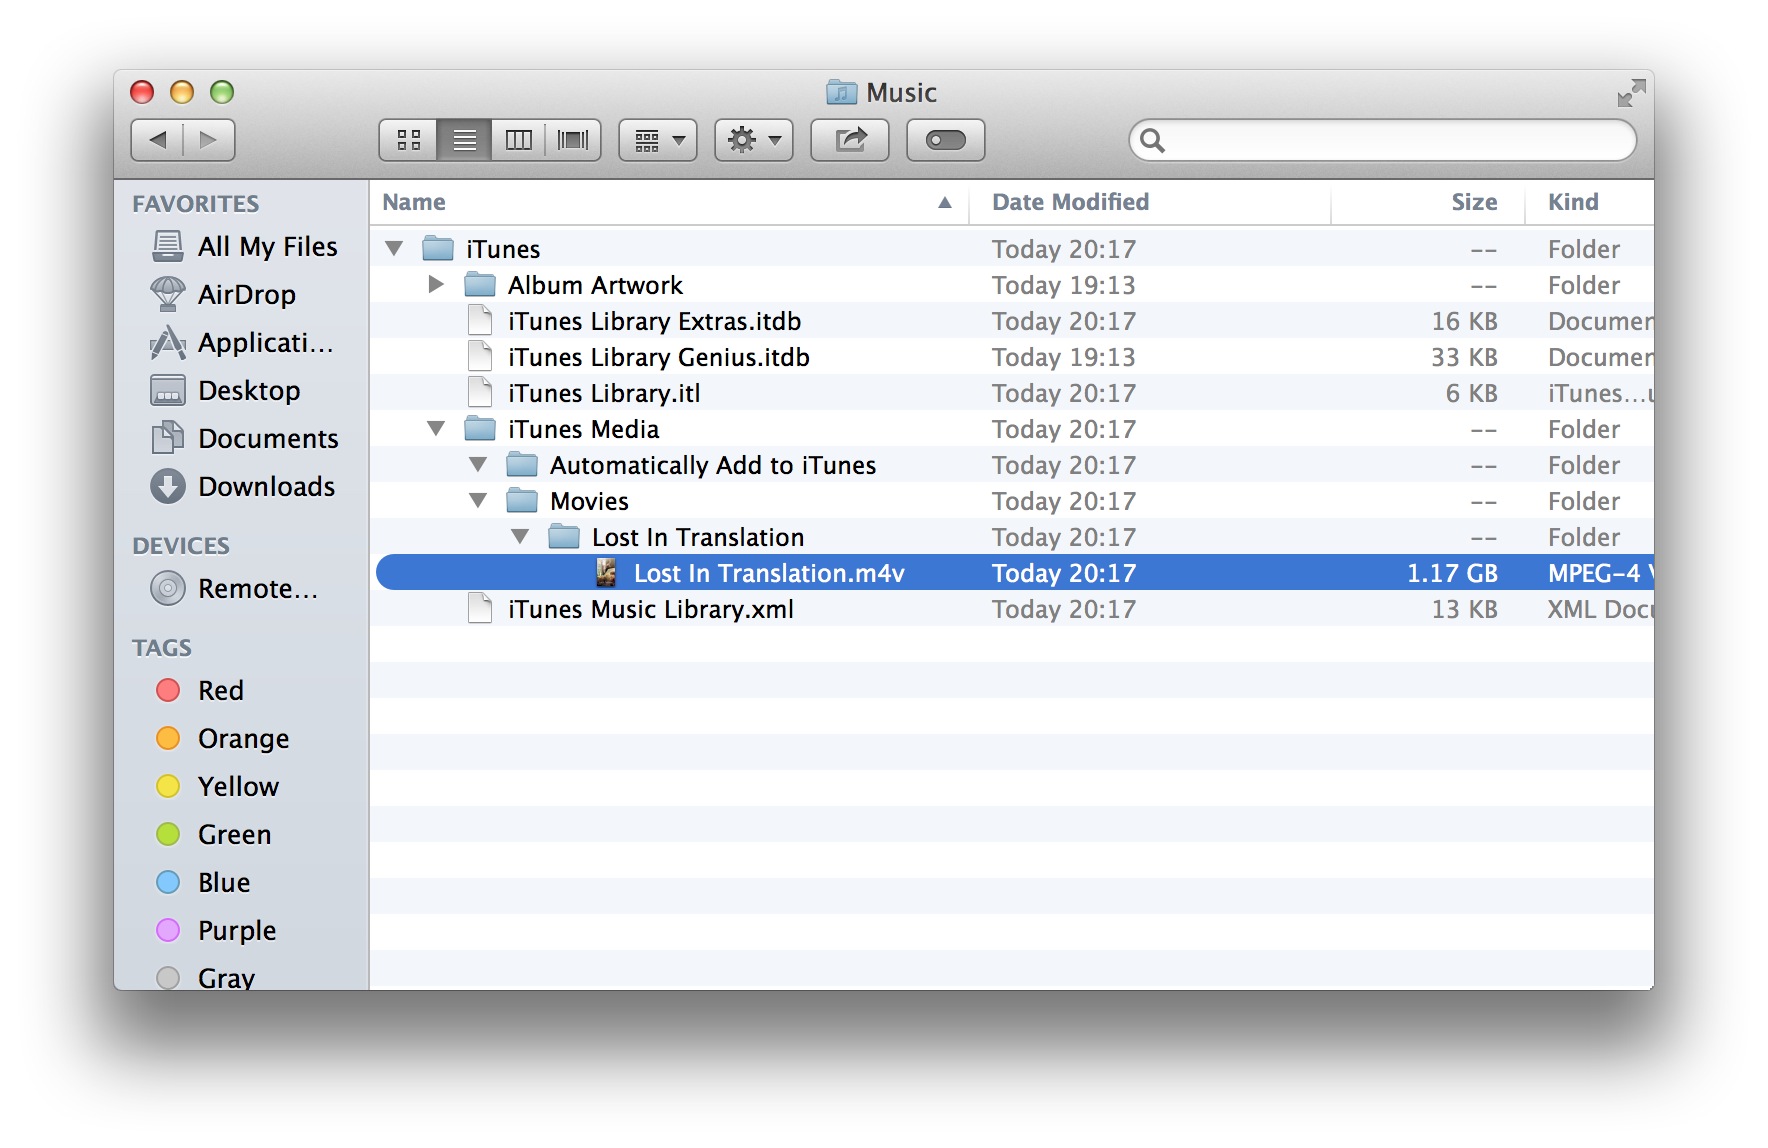
Within a few seconds, the file is moved into the appropriate folder (in this case, it would be the Movies folder) and instantly appears within the Movies section of iTunes.

If I had imported this using the more traditional way of dragging the file to the dock icon, iTunes would have created a copy of this file and left me with the task of deleting the original once it had finished.
If you attempt to add a file that isn’t supported by iTunes, a new subfolder is created named Not Added. iTunes then places the incompatible file within a date-stamped subfolder for you to remove.

A Finder Service For Moving Content into iTunes
As the watch folder is buried a few levels deep, a useful way of accessing it is by placing it in the Finder’s sidebar. Drag the folder to the sidebar to create a shortcut and you can drag any files you may want to add to iTunes quickly and easily.
I prefer to only have folders I regularly access in the sidebar and the folder’s name is so long it has to truncate, which I dislike (vanity, thy name is the Finder). Instead, we can use Automator to create a service for the Finder that will provide a means of moving any items to the folder through the contextual menu.
Launch Automator and select Service as the type of document to create.
Change the option for Service receives selected from Text to Files or Folders.
In the Actions column, search for the action Move Finder Items to the workflow.
Within the action’s settings, change the location to your iTunes library’s Automatically Add to iTunes folder[1].
Save your service with an appropriate name, such as Move to iTunes.

Now, when you want to import any files into iTunes, right-click on them and you’ll see the service you just created.

A Folder Action for Incompatible Files
As I briefly mentioned earlier, iTunes will reject any files that aren’t compatible and file them within a folder named Not Added. Unless we’re checking this folder regularly, it can be all too easy to forget about it.
To avoid this, we can create a folder action that will notify us via Notification Center that some files were rejected by iTunes, and open the folder automatically.
Before we begin, create a folder named Not Added within Automatically Add to iTunes, if it doesn’t already exist. This will be the folder that our folder action will monitor.
Launch Automator and select Folder Action.
Change the option for Folder Action receives files and folders added to the newly createdNot added folder.
Search for the Display Notification action and add it to the workflow, then enter some appropriate text.
Next, add the Get Specified Finder Items action to the workflow and specify the Not Added folder again.
Finally, add the Reveal Finder Items action to the workflow.

Save the Folder Action and it will constantly monitor the folder for changes. You can test it by dragging a text file to the Automatically Add to iTunes folder and launch iTunes. After a few seconds, iTunes should move the incompatible file into the Not Added folder, where the Folder Action we just created will display a notification and then open the folder for you to take a look at.

-
The folder name may end with .localized which simply identifies that the folder’s name will change depending on the language in use on the Mac. ↩

